5 Steps to a Fresh Face: My First Microneedling Experience
As a healthcare provider and lover of all things science and skincare, I had been curious about undergoing microneedling for a while now (ever since Kim K posted that “vampire facial selfie” a few years ago). As a teenager, I had acne that I constantly picked at (even though my mom told me not to) and now have some boxcar scarring, as well as very large pores in my T zone. These are the concerns I was hoping to address as I booked my first microneedling session! ALL THE PICS IN THIS POST ARE IN NATURAL LIGHTING, WITH NO EDITING, AND NO FILTERS. (might delete l8r)

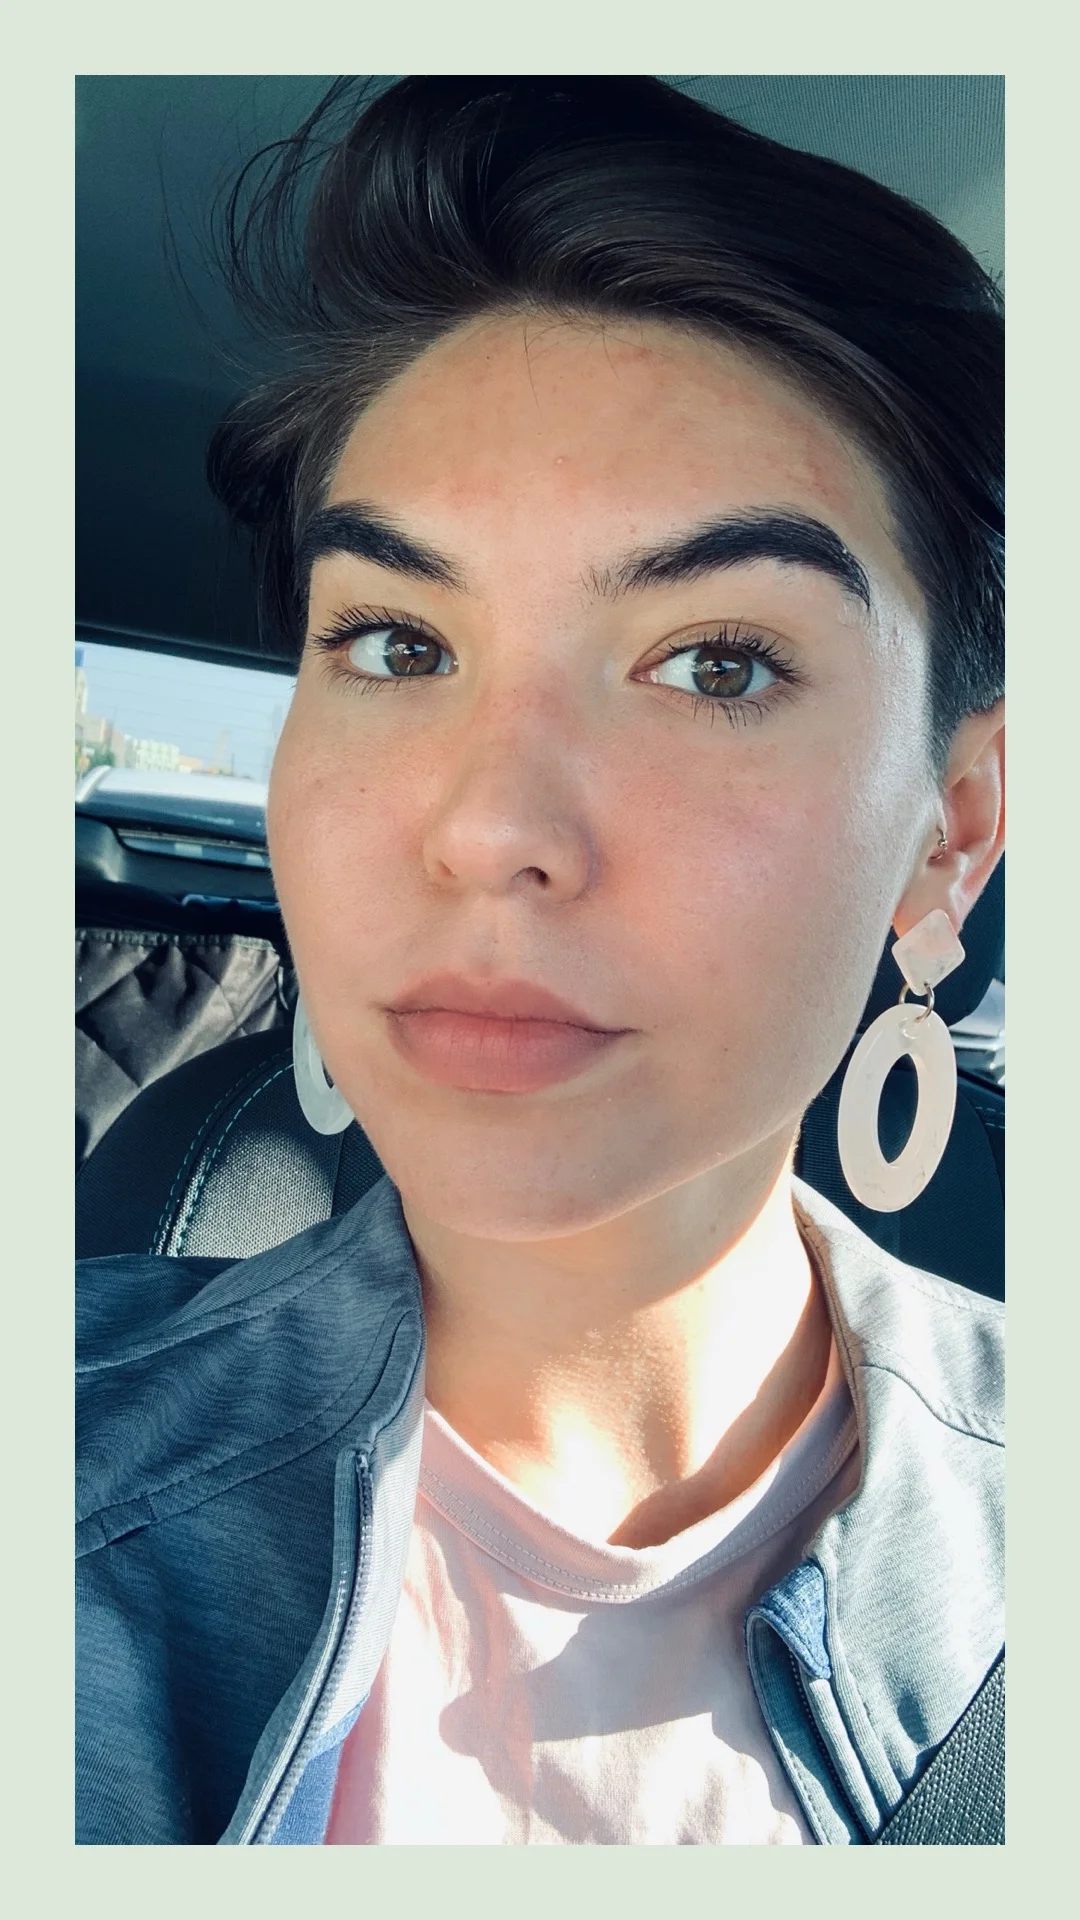
BEFORE
If you’re a hardcore skeptic like me, you probably want to know more about the science behind microneedling treatments. There are several peer reviewed journal articles with fantastic data on the topic which I will link to (if you’re really nerdy). ;) Microneedling has been used in the medical community since 1995 when it was first used to treat surgical scarring. Nowadays, we are even developing vaccines to be administered through microneedle patches! The basic concept of microneedling is simple. Think of what happens if you cut yourself -- the body forms new collagen and builds up the wound to close and leave a scar. In a microneedling treatment, “microtrauma” in the form of tiny punctures are made to the surface of the face into the layer of skin known as the “stratum corneum” without damaging the epidermis. The body responds as normal, by sending a cascade of growth factors and proteins to make brand-spanking-new collagen! Pitting acne scars are “filled in” from the bottom up. No topical treatment can achieve this (I don’t care how cute and convincing the packaging is!)
Ok, enough w/ the nerd stuff. Let’s get to the fun. I went to my appointment with a clean, bare face and comfortable clothing. Blue Medi Spa is a gorgeous, modern medspa located in Sherman Oaks and housed in a charming building that was once a movie theater. When I got there, friendly staff took down my information (including medical conditions and allergies) and explained the procedure, answering any questions I had.
STEP 1: Numb It Up
I was a little nervous. The thought of needles puncturing your face over and over and over for 30 minutes or so is not calming! Luckily, Blue Medi Spa uses a blend of three topical anesthetics → lidocaine, benzocaine, and tetracaine which is compounded especially for them and ensures the procedure is comfortable. The aesthetician applied a thick layer and we waited for it to turn from white to clear. That’s how you know you’re ready!

Triple anesthetic action!
STEP 2: Cleanse
It’s hella important that your face be squeaky clean prior to starting the procedure. It’s also important not to have any active break outs. It would be terrible to puncture pustules and then innoculate the entire surface of your face with acne-causing bacteria. Talk about a nightmare! My aesthetician used medical grade cleanser to gently disinfect my face prior to starting.

Step 3: Get needled
In a step-wise pattern, my aesthetician ran her microneedling tool over my entire face, starting at my forehead (known to be the most painful area) and working her way all the way down to my jawline. She adjusted the penetration depth of the needles based on the thickness of the skin in the area and the severity of scarring. You wouldn’t want to use the same length needle in the delicate skin around the eyes as you would in the cheeks and chin. Be sure your aesthetician knows how to manipulate the depth and customize the experience to YOUR face! For the most part, the procedure was completely painless. I had some tenderness on the forehead and jaw area but certainly nothing unbearable.

Step 4: Serum
One of the many benefits of microneedling is that it creates small channels in the skin’s surface which allow any topicals to penetrate deeply which increases their efficacy. My aesthetician applied a soothing layer of serum over my raw skin and it felt like my face just drank it right up! I noticed this effect for several days after treatment as well when using my regular products at home. Blue Medi Spa also sells post-needling kits with medical grade products to keep you looking dewy & gorge at home.
Step 5: Glow Baby Glow!
Seeing your bloody face right after the procedure is a little scary but my aesthetician assured me the redness would not last more than a few days. I actually got microneedled on Sunday morning and went to work on Monday. My colleague asked if I had gotten some sun but otherwise no one even noticed. My face felt tight and a little itchy for the next 2 days. The old skin flaked off by the end of the week and revealed soft, baby-smooth cheeks and a natural healthy-looking flush. The beauty of micro-needling is that the results continue to develop for weeks after treatment as the collagen-building process takes time.
It’s important to have realistic expectations. Like most cosmetic procedures, microneedling requires a few treatments before you have maximum improvement. You should wait 4-6 weeks between treatments to allow the skin to fully heal and reap the benefits but I am already planning to schedule my next session at Blue. I’d love to answer any questions you may have over on Instagram @coutureinclinic! DM ME.

Immediately after the treatment
24 hours s/p microneedling

3 Weeks Out!